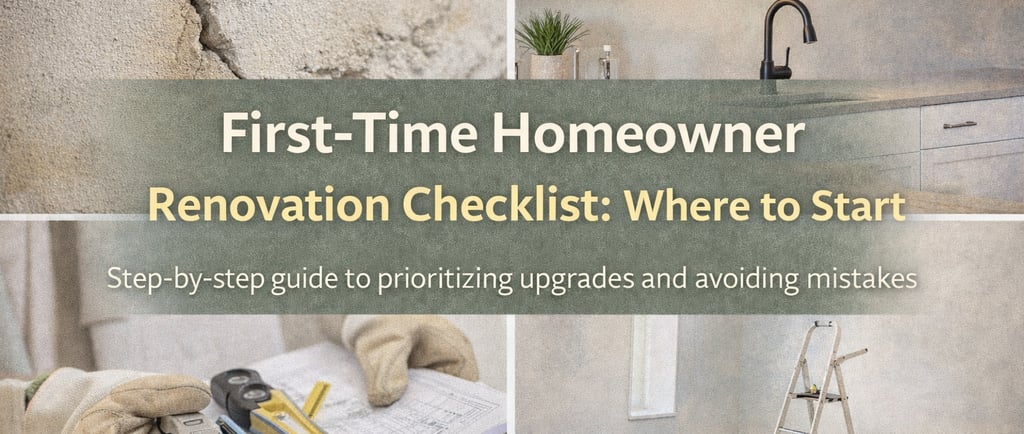
First-Time Homeowner Renovation Checklist: Where to Start
Just bought your first home? Use this step-by-step renovation checklist to prioritize upgrades, avoid costly mistakes, and renovate with confidence.
2/23/20262 min read
Just bought your first home?
Exciting — and overwhelming.
Between Pinterest inspiration and renovation reality, it’s easy to overspend or start in the wrong place. The key is not doing everything at once — it’s doing the right things first.
This step-by-step checklist will help you renovate with confidence, avoid costly mistakes, and prioritize upgrades that truly matter.
Step 1️⃣: Inspect Before You Renovate
Before choosing paint colors or new cabinets, check the fundamentals.
Focus on:
Roof condition
Plumbing leaks
Electrical wiring
Foundation cracks
Windows and insulation
HVAC system
Why this matters:
Cosmetic upgrades won’t matter if structural or safety issues are hiding underneath.
Fix problems first. Upgrade second.
Step 2️⃣: Address Safety & Maintenance Issues
Your first renovations should protect your home and your wallet.
Priority fixes:
Water leaks
Mold issues
Broken locks
Faulty outlets
Damaged flooring
Poor drainage
These repairs may not be glamorous — but they protect your investment.
Step 3️⃣: Set a Realistic Renovation Budget
One of the biggest first-time homeowner mistakes? Overspending too quickly.
Smart budgeting tips:
Break costs into categories (materials, labor, tools)
Add a 10–15% emergency buffer
Avoid financing non-essential upgrades early
Remember: homeownership comes with unexpected costs. Keep reserves available.
Step 4️⃣: Start With High-Impact Cosmetic Updates
Once essentials are handled, focus on upgrades that transform the look of your home without major structural work.
Best beginner-friendly upgrades:
Fresh neutral paint
Updated lighting fixtures
New cabinet handles
Modern faucets
Updated switch plates
Deep cleaning and decluttering
These changes are affordable and instantly improve how your home feels.
Step 5️⃣: Prioritize One Room at a Time
It’s tempting to start everything at once.
Don’t.
Choose one space — complete it fully — then move on.
This prevents:
Half-finished projects
Budget confusion
Decision fatigue
Momentum builds confidence.
Step 6️⃣: Know When to DIY vs Hire a Professional
DIY can save money — but only when done correctly.
Good DIY starter projects:
Painting
Installing shelves
Replacing hardware
Hire professionals for:
Electrical changes
Plumbing relocation
Structural modifications
Mistakes in technical areas can cost far more than hiring help.
Step 7️⃣: Avoid These First-Time Homeowner Mistakes
🚫 Overpersonalizing too quickly
🚫 Ignoring resale value
🚫 Buying furniture before measuring
🚫 Choosing trendy over timeless
🚫 Starting without a clear plan
Your first year should focus on smart improvements — not impulse upgrades.
What Should You Renovate First?
If you’re unsure, start with this order:
Safety issues
Structural or maintenance problems
Paint and lighting
Kitchen and bathroom updates
Cosmetic upgrades
This creates both value and comfort.
Final Thoughts
Your first home doesn’t need to be perfect immediately.
Renovation is a process — not a race.
With the right plan, clear priorities, and realistic budgeting, you can transform your space step by step without stress.
At Fix & Flourish, we believe confident homeowners build better homes.
Start smart. Upgrade intentionally. And enjoy the journey.